manual transmission stop leak
Manual Transmission Stop Leak⁚ A Comprehensive Guide
Manual transmission stop leak is a product designed to seal leaks in manual transmissions. It works by restoring worn seals and gaskets, preventing transmission fluid from leaking out. This guide will explore the various aspects of manual transmission stop leak, from its workings to its benefits and drawbacks, providing you with a comprehensive understanding of this common transmission repair solution.
What is Manual Transmission Stop Leak?
Manual transmission stop leak is a specialized fluid additive designed to address leaks in manual transmissions. It’s a popular solution for vehicle owners facing the inconvenience and potential damage caused by transmission fluid leaks. This additive acts as a sealant, effectively plugging leaks and restoring worn seals and gaskets. Manual transmission stop leak is typically formulated with a blend of polymers, resins, and other compounds that create a durable seal within the transmission system. These components are designed to adhere to the surfaces of seals and gaskets, effectively filling in any gaps or cracks that may be causing the leak. The result is a restored seal that prevents further fluid loss.
While manual transmission stop leak is a convenient and readily available solution for addressing leaks, it’s essential to understand that it’s not a permanent fix. It’s more accurately described as a temporary measure or a band-aid solution. The underlying problem that caused the leak in the first place may still persist, and the stop leak additive may eventually lose its effectiveness over time. In such cases, a more permanent solution like replacing the worn seals or gaskets may be necessary.
It’s also crucial to note that manual transmission stop leak should be used with caution. While it’s generally considered safe for most transmissions, it’s always advisable to consult your vehicle’s owner’s manual or a qualified mechanic before using any stop leak product. Using the wrong type of stop leak or applying it incorrectly can potentially damage your transmission, further complicating the issue.
Common Causes of Manual Transmission Leaks
Manual transmission leaks are a common problem that can stem from various factors, leading to the need for a solution like manual transmission stop leak. Here are some of the most frequent causes of these leaks⁚
- Worn Seals and Gaskets⁚ Over time, seals and gaskets in a manual transmission can become worn, cracked, or brittle due to age, heat, and exposure to transmission fluid. This deterioration can create openings for fluid to escape.
- Damaged Transmission Housing⁚ The transmission housing itself can become damaged through impact, corrosion, or general wear and tear. Cracks or holes in the housing can allow transmission fluid to leak out.
- Loose or Damaged Bolts⁚ Bolts that secure the transmission pan, axles, or other components can loosen or become damaged. This can result in gaps that allow fluid to leak.
- Improper Fluid Level⁚ An excessive amount of transmission fluid can cause pressure buildup, leading to leaks. Conversely, a low fluid level can also cause leaks as the seals and gaskets may not be properly lubricated.
- Overheating⁚ Excessive heat can damage seals and gaskets, making them more prone to leaks.
- Incorrect Fluid Type⁚ Using the wrong type of transmission fluid can cause seals and gaskets to deteriorate prematurely, leading to leaks.
- External Damage⁚ Physical damage to the transmission or its components, such as from a collision or road debris, can cause leaks.
Identifying the specific cause of a transmission leak is crucial for determining the best course of action. Sometimes, a simple repair like tightening a bolt or replacing a worn seal can resolve the issue. In other cases, more extensive repairs may be necessary, potentially involving a complete transmission overhaul.
How Manual Transmission Stop Leak Works
Manual transmission stop leak products typically work by employing a combination of techniques to address the root cause of leaks⁚
- Seal Swelling⁚ Many stop leak products contain additives that swell and expand worn or damaged seals and gaskets. This creates a tighter seal, preventing fluid from escaping.
- Surface Coating⁚ Stop leak products often contain polymers or other compounds that create a thin, protective coating on metal surfaces. This coating can help to fill in microscopic gaps and irregularities in seals and gaskets, improving their sealing capability.
- Lubrication⁚ Some stop leak products also contain lubricating agents that help to reduce friction and wear on seals and gaskets. This can help to extend their lifespan and prevent further damage.
- Fluid Thickening⁚ In some cases, stop leak products may thicken the transmission fluid itself. This can help to slow down leaks by increasing the fluid’s viscosity and reducing its tendency to escape through gaps.
It’s important to note that manual transmission stop leak is not a permanent solution. It is essentially a temporary fix that can buy you time until a more comprehensive repair can be made. While it may effectively stop leaks for a period, the underlying issue causing the leaks will still need to be addressed eventually.
If you’re considering using manual transmission stop leak, it’s crucial to choose a product specifically designed for manual transmissions and to follow the manufacturer’s instructions carefully. Applying too much stop leak can potentially cause more harm than good by clogging internal components or creating excessive pressure.
Types of Manual Transmission Stop Leak Products
Manual transmission stop leak products come in a variety of forms, each with its own advantages and disadvantages. Here are some common types⁚
- Liquid Additives⁚ These are the most common type of manual transmission stop leak. They are typically added to the transmission fluid through the fill plug. Liquid additives are generally easy to use and can be effective in sealing minor leaks.
- Gasket Sealers⁚ These products are designed to seal specific areas, such as the transmission pan gasket, where leaks are occurring. They are often applied as a paste or sealant directly to the gasket surface.
- Sealant Kits⁚ These kits typically include a combination of liquid additives and gasket sealers. They are designed to provide a more comprehensive solution for addressing leaks in multiple areas of the transmission.
The type of manual transmission stop leak product you choose will depend on the severity of the leak, the location of the leak, and the type of transmission fluid used in your vehicle. It’s important to read the product label carefully to ensure that it is compatible with your vehicle’s transmission and fluid type. Consult your vehicle’s owner’s manual for specific recommendations.
While stop leak products can be a convenient and cost-effective solution for temporary fixes, it’s essential to remember that they are not always the most effective solution and should not be considered a long-term fix. It’s also important to use stop leak products with caution, as they may cause damage if used incorrectly.
Popular Manual Transmission Stop Leak Brands
The market for manual transmission stop leak products is populated by several reputable brands, each offering a range of solutions for different leak types and transmission systems. Here are some of the popular brands⁚
- Bars Leaks⁚ Known for its wide array of automotive repair products, Bars Leaks offers a specialized transmission stop leak specifically designed for manual transmissions. Their product promises to restore worn seals and gaskets, effectively halting fluid leaks.
- BlueDevil⁚ BlueDevil is another well-respected name in the automotive repair industry. Their transmission stop leak solution promises a permanent seal for leaks in both manual and automatic transmissions, restoring the integrity of gaskets and seals.
- Lucas Oil⁚ Lucas Oil is renowned for its high-quality automotive fluids and additives. Their Transmission Fix is a popular choice for addressing leaks in manual transmissions. It is formulated to repair worn seals and gaskets, preventing further fluid loss.
- Bardahl⁚ Bardahl specializes in automotive additives, including a manual gearbox stop leak product. Their solution is designed to restore worn seals, prevent leaks, and reduce wear within the transmission system.
- Motor Medic⁚ Motor Medic is known for its comprehensive range of automotive maintenance products. Their Automatic Transmission Sealer is designed to effectively stop leaks in both manual and automatic transmissions. It is formulated to restore seals and gaskets, preventing further fluid loss.
When choosing a brand, consider factors like product reviews, compatibility with your vehicle’s transmission fluid, and the specific leak type you are trying to address. Remember to always consult your vehicle’s owner’s manual for the recommended transmission fluid and any specific recommendations for stop leak products.
Benefits of Using Manual Transmission Stop Leak
While addressing a transmission leak is crucial for maintaining the health of your vehicle, using a manual transmission stop leak can offer several advantages⁚
- Temporary Solution⁚ Manual transmission stop leak can provide a temporary fix for minor leaks, giving you time to save for a more permanent repair or to schedule a service appointment with a mechanic. This can be particularly helpful if you are experiencing a leak in a remote location or on a tight budget.
- Cost-Effective⁚ Compared to the cost of a complete transmission replacement or a major repair involving gasket replacement, manual transmission stop leak can be a significantly more affordable solution. This can be especially beneficial for older vehicles where the cost of a full repair might not be justifiable.
- Convenience⁚ Applying manual transmission stop leak is typically a straightforward process that can be done by most DIY enthusiasts. This eliminates the need for specialized tools or the inconvenience of visiting a mechanic, saving you time and money.
- Extended Transmission Life⁚ By preventing fluid loss, manual transmission stop leak can help extend the lifespan of your transmission. This is particularly beneficial for older vehicles that may be nearing the end of their service life.
- Improved Performance⁚ Adequate transmission fluid levels are crucial for smooth gear shifting and optimal performance. By sealing leaks and maintaining the correct fluid levels, manual transmission stop leak can help improve your vehicle’s overall performance and drivability.
However, it’s important to remember that manual transmission stop leak is a temporary solution and not a permanent fix for transmission leaks. It is always recommended to address the root cause of the leak eventually to ensure the long-term health of your transmission.
Potential Drawbacks of Using Manual Transmission Stop Leak
While manual transmission stop leak can offer temporary relief for minor leaks, it’s important to acknowledge its potential drawbacks⁚
- Temporary Fix⁚ Manual transmission stop leak is designed as a temporary solution and does not address the underlying cause of the leak. It’s a band-aid approach that may mask the problem, potentially leading to more significant issues down the road if the leak isn’t properly addressed.
- Potential for Clogging⁚ Some stop leak products contain thickeners or sealants that can potentially clog the transmission’s internal passages, hindering fluid flow and impacting the transmission’s operation. This could lead to reduced performance, rough shifting, and even transmission failure.
- Compatibility Issues⁚ Not all manual transmission stop leak products are compatible with all transmission fluids. Using an incompatible product could damage the transmission’s internal components or lead to a decrease in fluid lubricity, resulting in premature wear and tear.
- Limited Effectiveness⁚ Manual transmission stop leak may not be effective for all types of leaks, particularly those caused by major damage to the transmission housing or worn internal components. In such cases, a more permanent repair, such as replacing the faulty seals or gaskets, is necessary.
- Potential for Damage⁚ While many stop leak products are advertised as safe for use, some may contain harsh chemicals that can potentially damage the transmission’s seals, gaskets, or internal components over time. This could lead to further leaks or even transmission failure.
Before using manual transmission stop leak, it’s crucial to carefully read the product’s instructions and consult with a qualified mechanic to determine if it’s the appropriate solution for your specific situation. Using stop leak as a last resort and addressing the underlying cause of the leak is generally the best course of action for long-term transmission health.
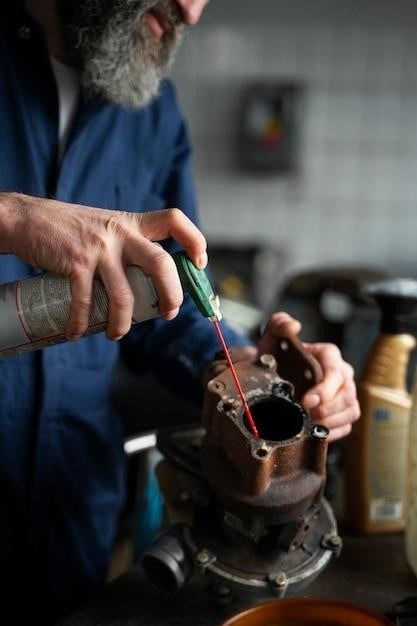
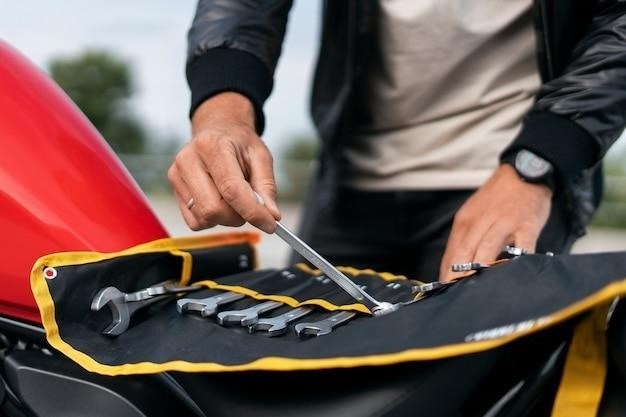
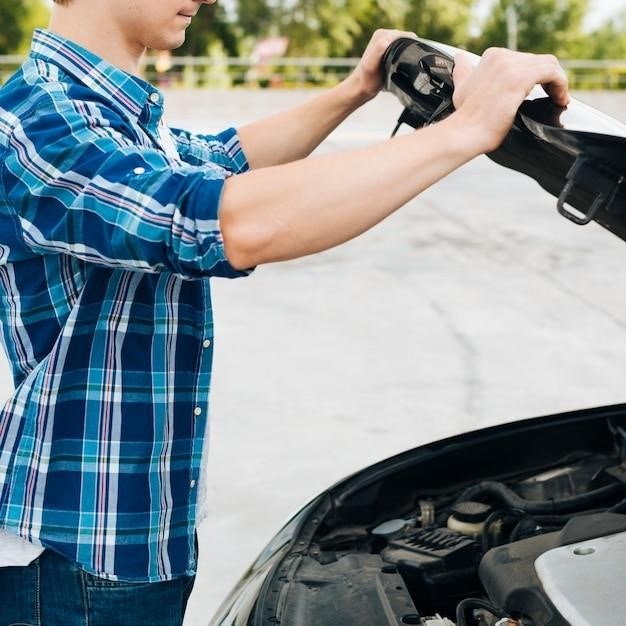
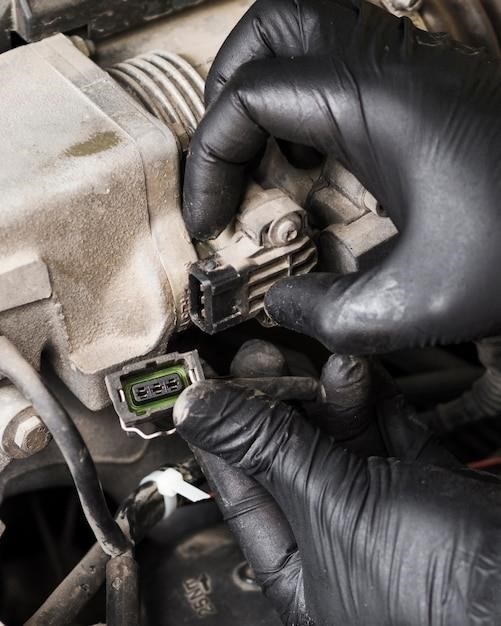
How to Apply Manual Transmission Stop Leak
Applying manual transmission stop leak typically involves adding the product to the transmission fluid. The specific instructions will vary depending on the brand and type of stop leak product you choose, but generally, the process involves the following steps⁚
- Check the transmission fluid level⁚ Before adding any stop leak product, ensure that the transmission fluid level is correct. Consult your vehicle’s owner’s manual for the recommended fluid level.
- Warm up the transmission⁚ Drive your vehicle for a few minutes to warm up the transmission fluid, making it easier for the stop leak product to circulate and reach the leaking areas.
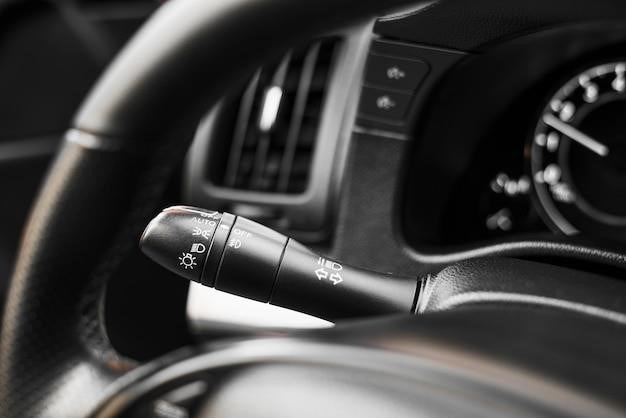
- Locate the transmission fill plug⁚ The transmission fill plug is usually located on the transmission housing, typically near the top. Consult your vehicle’s owner’s manual or search online for specific instructions for your vehicle model.
- Add the stop leak product⁚ Carefully pour the specified amount of stop leak product into the transmission fill plug opening. Avoid overfilling the transmission.
- Run the engine and shift gears⁚ Start the engine and allow it to idle for a few minutes to allow the stop leak product to circulate throughout the transmission. Shift through all gears to ensure the product reaches all the necessary areas.
- Check for leaks⁚ After driving for a few miles, inspect the transmission for any leaks. If the leaks persist, you may need to add more stop leak product or seek professional help.
It’s essential to note that applying stop leak product is generally a straightforward process, but it’s always advisable to consult your vehicle’s owner’s manual for specific instructions and precautions. If you’re unsure about the process or have any concerns, it’s best to seek professional help from a qualified mechanic.
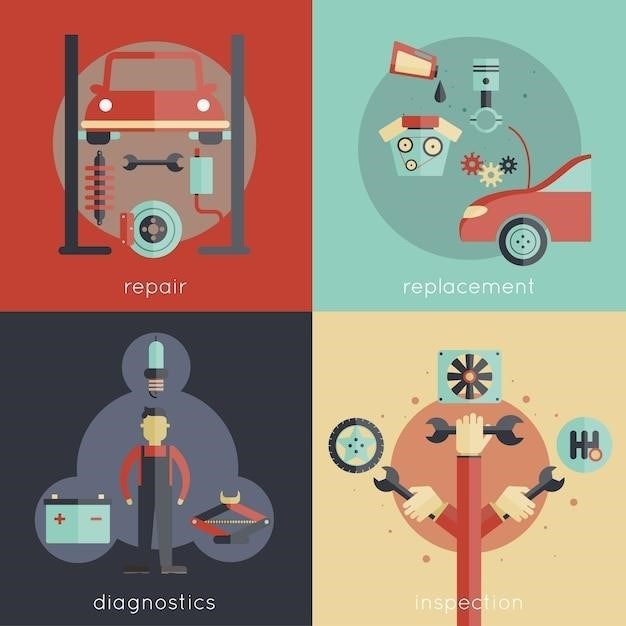
When to Consider a Professional Mechanic
While using a manual transmission stop leak product can be an effective temporary solution for minor leaks, there are situations where seeking professional help from a qualified mechanic is crucial. Here are some instances when you should consider professional intervention⁚
- Major leaks⁚ If your transmission is leaking significantly, a stop leak product might not be sufficient to seal the leak. A mechanic can diagnose the source of the leak and recommend the appropriate repair, which may involve replacing worn seals or gaskets.
- Persistent leaks⁚ If a stop leak product fails to stop the leak after multiple applications or if the leak returns after a short period, it’s best to consult a mechanic. This could indicate a more serious issue requiring professional attention.
- Unusual noises or shifting problems⁚ If you notice any unusual noises, grinding, or difficulty shifting gears after using a stop leak product, it’s essential to have your transmission inspected by a mechanic. These symptoms could indicate underlying transmission problems that need addressing.
- Uncertainty or lack of experience⁚ If you are unsure about the application process or have any doubts about using a stop leak product, seeking guidance from a mechanic is always a good idea. They can provide expert advice and ensure the product is used safely and effectively.
- Older vehicles⁚ Older vehicles may have worn-out seals and gaskets that are more prone to leaks. A mechanic can assess the overall condition of your transmission and recommend the most appropriate repair solution.
Remember, while a stop leak product can be a useful tool for minor leaks, it’s crucial to prioritize professional help when dealing with significant leaks, persistent problems, or any signs of transmission malfunction. A qualified mechanic can provide expert diagnosis and repair, ensuring the longevity and proper functioning of your manual transmission.